I must say, I am so excited about this project.
It was easy and super quick to put together.

The inspiration for this project:
I have been reading about the DIY chalkboard paint for a while and have wanted to try it. I am re-doing our laundry room, and I thought it needed something where we could leave notes and hang keys, since it is right off the garage.
That being said, I came up with this little board after looking for something similar online that would fit in the small wall space I had due to an awkward window. I couldn't find anything the right size with all the elements I wanted. My philosophy... If you can't buy what you really want... don't settle. Make exactly what YOU WANT!!
This whole project from start to finish took only about an hour and the cost was about $17.
What you'll need:

- Wooden board (cut to whatever size you desire)*
- A bottle or 2 of acrylic paint - color up to you
- White Dry Non-Sanded Grout*
- Cork board pad (I found mine in the office section of Walmart for $4.99)*
- Hooks (I used an already made wooden hook plaque that I picked up for $2.99 at Walmart)*
- Cup to mix your paint
- Stir stick for your paint
- Sponge Paint Brush
- Measuring Cup & Spoons
- Scissors
- Thumb Tacks
- Chalk*
- Hanging Hardware & Tools
**You can substitute premade chalkboard paint from your local craft store for the paint and grout, but I wanted a specific custom color and made my own.
Depending on how crafty you are - you may have a lot of these items already. I've starred the ones I had to actually buy to give you an idea. I picked up my board at Home Depot. It was actually a pre-made shelf in the organization aisle - $3.99. I was worried the paint wouldn't stick right on the laminate slick finish on my shelf, but it did fine. While I was there, I picked up this giant box of grout. It was the smallest box I could find and it was around $5.
You can find paint, cork board pads, hooks, and everything else at your local Walmart pretty inexpensively. You may even be able to find the grout and board... who knows. Okay - on to the instructions...
 |
| Chalkboard Paint - I chose light grey to match my decor. :) |
Step 1: Measure out 2 teaspoons grout to every 1/4 cup paint. I was especially worried about my paint sticking to the slippery surface, so I put in about 2 1/2 teaspoons to my 1/4 cup paint. I don't know if it made a difference or not, but the board isn't too rough and it stuck just fine.
Step 2: Mix up your paint really well with a stick. I had a kabob stick on hand - I just used it. It worked fine. Make sure the paint is mixed thoroughly. It will be really thick!
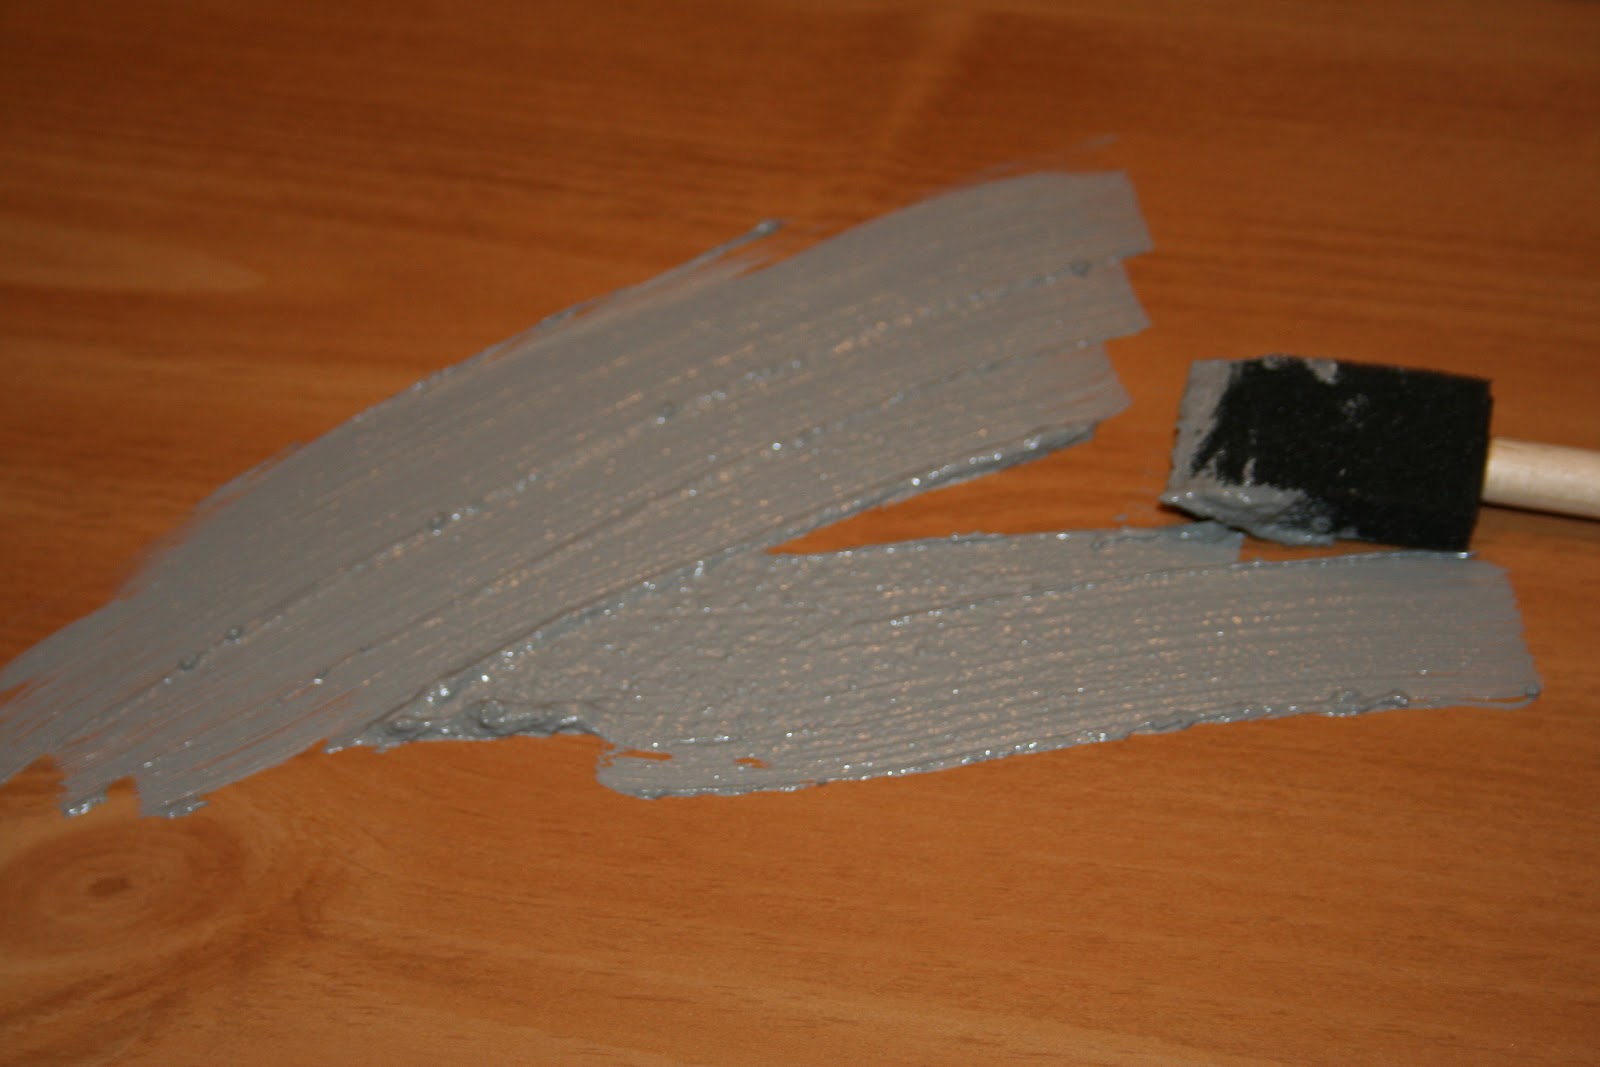 |
| Thick goopy paint. |
Step 3: Paint your first coat on the board. It's going to go on very thick, making you think you've done it all wrong. As you paint, the grout will even out, so don't worry. Make your first coat light. You are going to want to put several even light coats on to make this work. Your first coat is going to look pretty awful... again, making you think you've done it all wrong. You haven't. Below is my board right after the first coat.
 |
| First coat of paint... Looking pretty gnarly! |
Step 4: While your first coat of paint is drying, measure your cork board pad. Originally, I was going to do rounded corners on my cork board and make it a little larger, but as I started to measure it out, I decided I liked mine square just a little smaller than the board so the grey paint acted as a small border. This is really up to personal preference.
 |
| Cut your cork pad to fit your board. |
To ensure a clean cut, I taped the area I needed to cut, and then drew with pencil where I wanted to cut. I used scissors to make the cut, but I think you would get a cleaner cut if you used a box knife and hard surface. Scissors worked fine, but it left a very slight raw edge.
 | |
| Right after my third coat of paint. I was still a little nervous. |
Step 5: Apply your second and third coat of paint. Make sure you let the second coat dry thoroughly before doing the third.
If you feel you need a 4th coat to make it even, do that after your third coat dries. 3 coats worked fine for my board. Until completely dry, you won't know what it looks like, so be patient.
I thought for sure mine was going to look horrible when it dried, but it ended up perfect. The paint actually dries fairly quickly.
Step 6: Once dry, take a piece of chalk and rub it all over the board to "prep" it. Then erase the chalk. I am not sure what this does, but everything I read said it was a necessity with DIY chalkboard paint.
 |
| Attach cork pad to your board after paint is dry. |
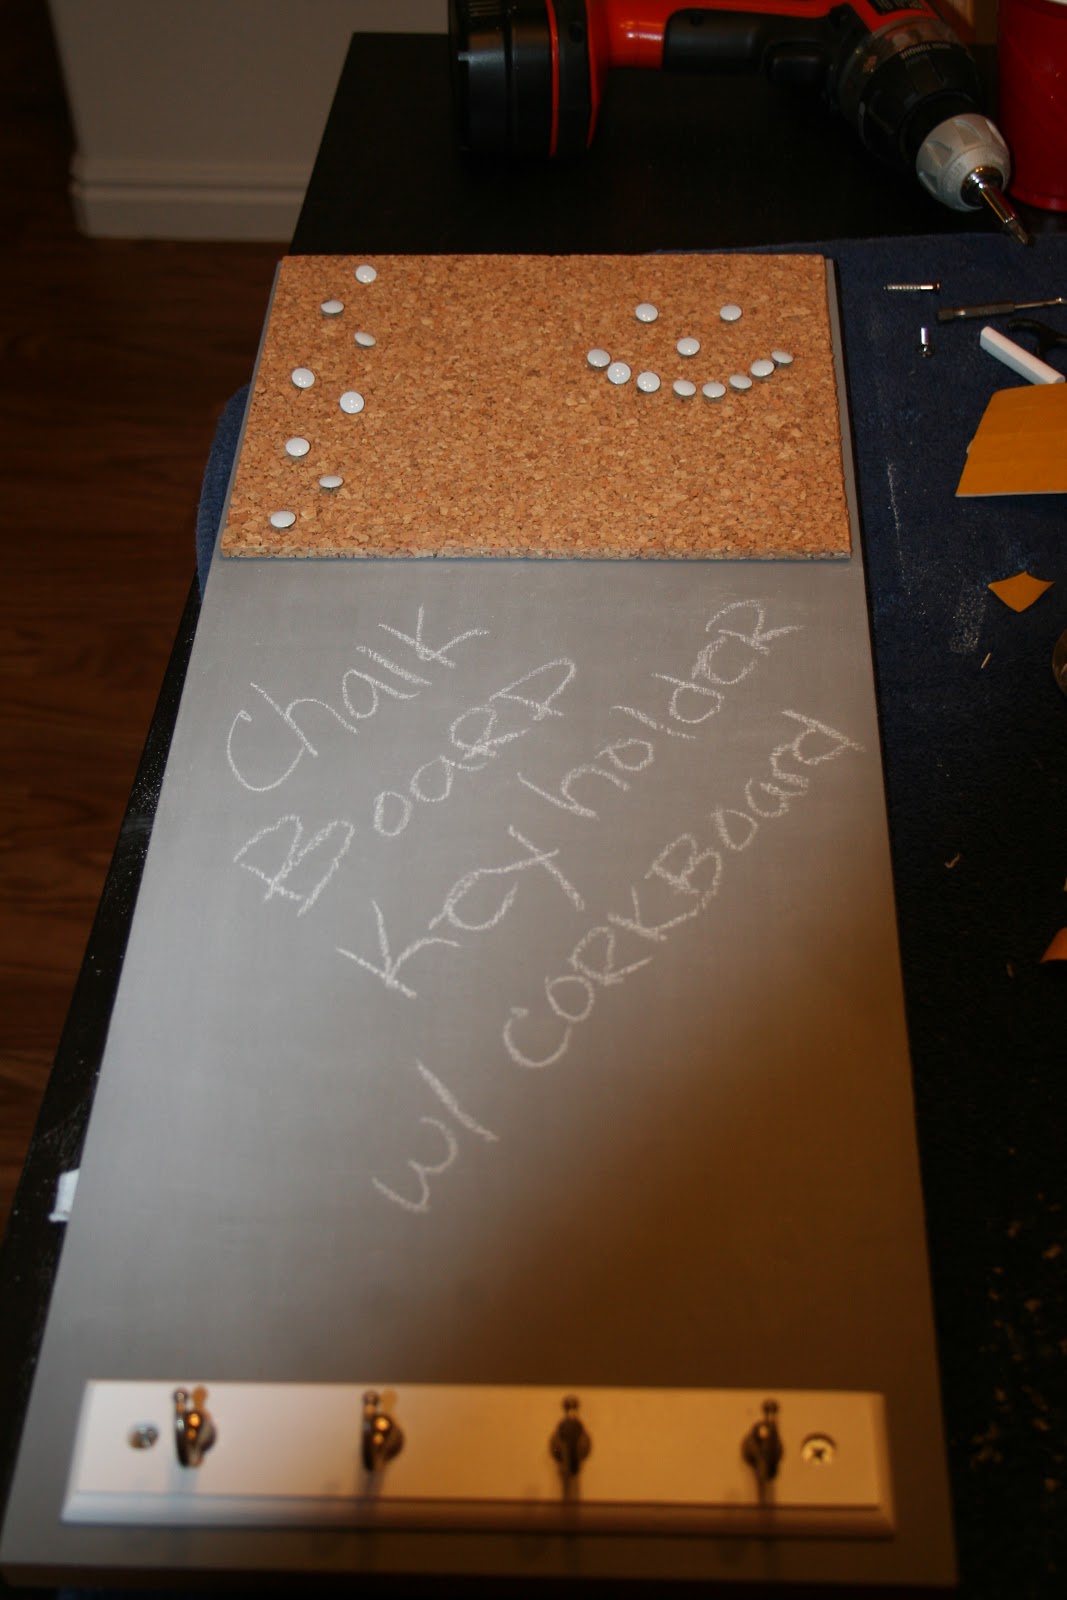
 | |
| Screw Hooks |
Step 8: Attach your hooks. I pre-drilled holes onto my board where the hook plaque holes were to ensure the wood didn't split when I attached the hooks. I used the screws that were provided with my hook plaque to attach the hooks to the board.
If you are using the little hooks that screw in, I would probably pre-drill small holes about 1/4 of the depth of the hook screw into the wood to make sure your board doesn't split and that they go in evenly.
I chose the plaque because I liked the hooks on it and thought the white plaque gave it more character. Again, personal preference.
Step 9: Attach hanging hardware to the back of your board. I haven't done this yet, because my laundry room is under construction still. Make sure you use hardware that will support the weight of the board you are using!! You don't want your board falling on your over-zealous, curious cat. :)

That's it! I used 2 of my hooks to store a piece of chalk. I may attach some sort of little holder for an eraser and chalk at a later time. Overall - I am thrilled with how it turned out - and the grey matches my washer and dryer knobs and the fabric in my blue and grey striped valance fabric. :-D
Now I might not forget my lunch on the way out the door... and I *might* remember to grab that 25% off coupon I got in the mail 2 weeks ago that is now hanging up instead of in a big pile of mail!
No comments:
Post a Comment